
The Production tab is where you will input all of your production.
Production can be entered in the lot accounting size that fits your business model. You could account for each individual item produced, or you can account for each “load,” “batch,” or “run” you produce. You could also input the entire production for a person, a shift, a day, etc. The level of granularity depends on how well you’d like to track your production. PiQ will use a daily total to calculate utilization.
Subtabs: Production, Quality Hold, Inventory Audit
Production
Table
Please see the Interacting with Tables section of this manual to learn how tables work. In this page, we will deal with the specific data in this table.
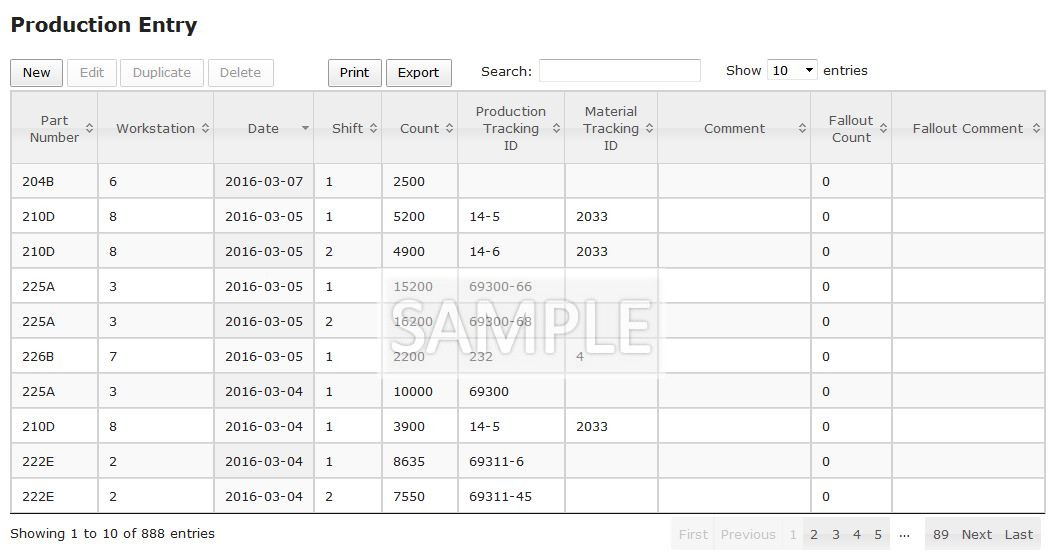
A brief review of the columns in the Production table:
- Part Number: Your internal part number for this item.
- Workstation: The workstation where this lot was produced.
- Date: The date of production.
- Shift: The shift of production.
- Operator: The operator at the workstation.
- Count: The number of good parts produced.
- Production Tracking ID: The unique identifier you use for this production.
- Material Tracking ID: The identifier for the material used in this lot.
- Comments: Any comments you have entered regarding this line item.
- Fallout Count: Any non-usable production from this lot.
- Fallout Comment: A comment regarding the status or reason for the fallout.
Let’s move on to your interaction with the table:
- To create a new Production Entry:
- Click the “New” button, then follow the Form instructions below.
- To edit an existing Production record:
- Select the row you wish to edit, then click the “Edit” button. Follow the Form instructions below.
- To create a new Production Entry based on another Production Entry:
- To speed multiple entries of similar production, use the “Duplicate” button. Follow the Form instructions below.
- To Delete an existing Production record:
- Select the row you wish to delete, then click the “Delete” button. Follow the Form instructions below.
Now we’ll look at each button action individually:
Add a Production record
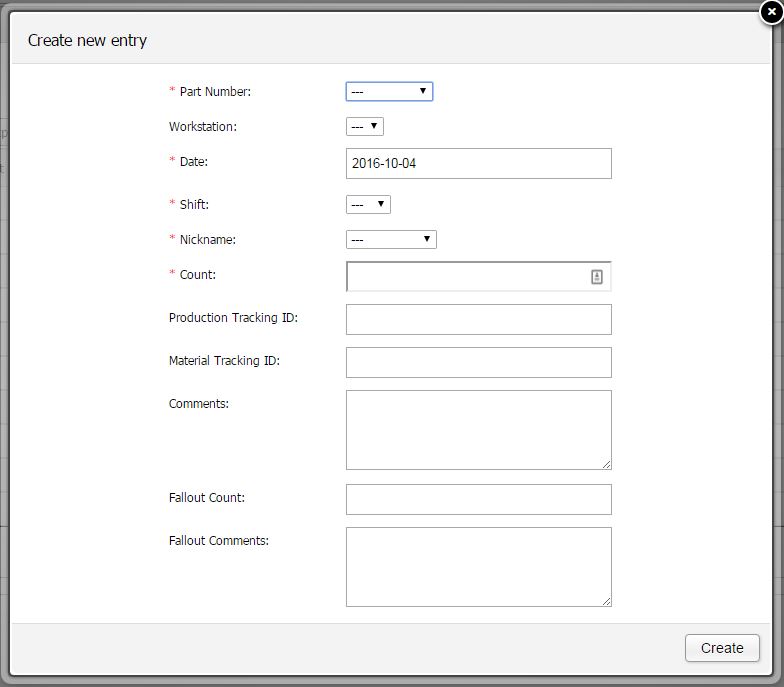
This is the Create new entry form to add a New Production record. A description for each field follows:
- Part Number: Select your Internal Part Number from the dropdown list.
- Workstation: Select the Workstation where this production originated.
- Date: Select the date of production.
- Shift: Select the shift of production.
- Operator: Select the operator name.
- Count: Enter the number of parts produced in this lot.
- Production Tracking ID: Input the unique identifier you use for this lot.
- Material Tracking ID: Input the identifier for the material used in this production.
- Comments: Any comments you wish to add to this Production entry may be entered here.
- Fallout Count: Any Production Fallout can be noted here. This number is not counted into Production On Hand.
- Fallout Comment: Any comments relative to the Fallout count.
Once you have completed entering the data for this Production, click “Create” and you’re all done! You will be returned to the table view, and your new line item will be momentarily highlighted in the table.
To cancel the Entry and make no changes, click the “X” at the top right corner of the window, or hit “ESC” on your keyboard.
Edit an Existing Production Entry.
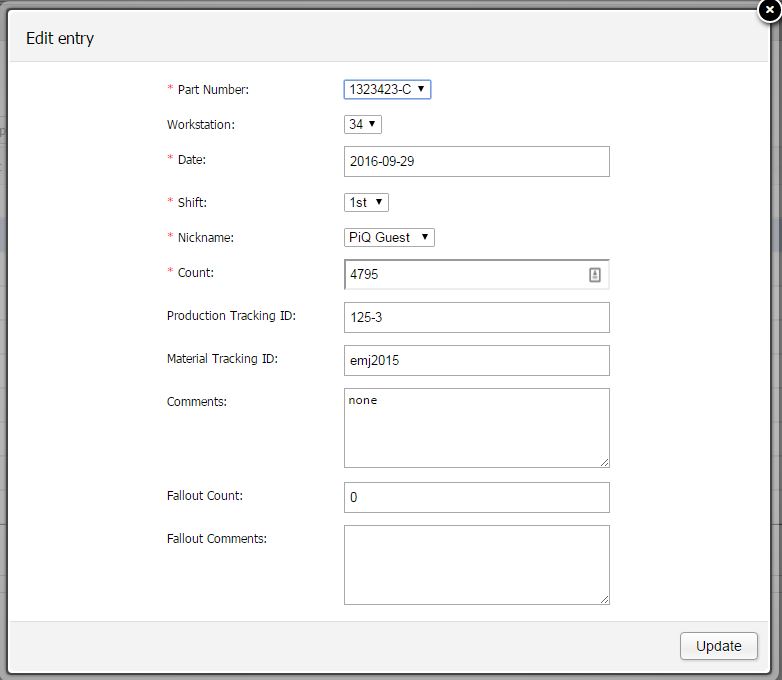
This is the Edit Entry form to edit an Existing Production record. For a description of each field, read the Add a New Production Entry text above.
- To begin an Edit on an Existing Production entry, first you must click on the table row you wish to edit. Once a row is highlighted, the Edit button will become active.
- The form will automatically populate with all of the information from the row you selected. Edit the field that you wish to change and click “Update” to complete the edit. You will be returned to the table view, and your edited line item will be momentarily highlighted in the table.
- To cancel the Edit and make no changes, click the “X” at the top right corner of the window, or hit “ESC” on your keyboard.
Add a Production Entry using the Duplicate button.
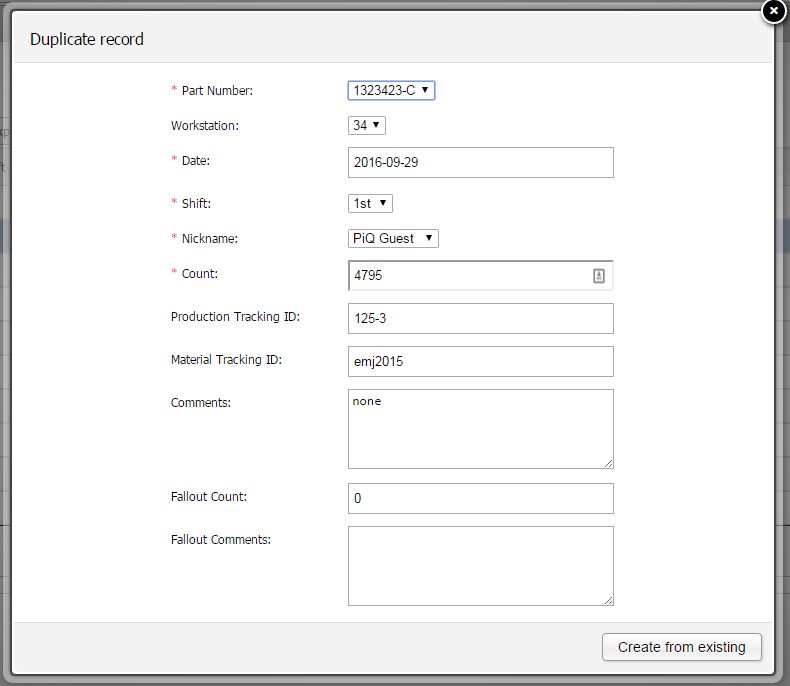
This is the Duplicate Entry form to add a New Production record. For a description of each field, read the Add a New Production Entry text above.
- To speed entry of multiple production lots of the same item, use the Duplicate button. Click on the table row you wish to duplicate. Once a row is highlighted, the Duplicate button will become active.
- The form will automatically populate with all of the information from the row you selected. Edit the field(s) that are different for this entry and click “Create from Existing” to enter the record. You will be returned to the table view, and your new line item will be momentarily highlighted in the table.
- To cancel the Duplicate Entry and make no changes, click the “X” at the top right corner of the window, or hit “ESC” on your keyboard.
Delete a Production Entry
To Delete a Production Entry, you must first click on the table row you wish to Delete. Once a row is highlighted, the Delete button will become active.
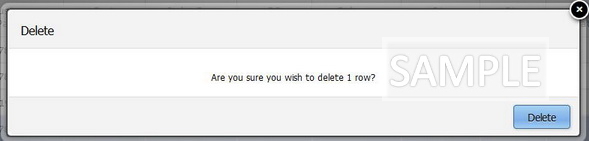
The Delete dialog will appear to confirm that you wish to delete this row. Click the “Delete” button and you will be returned to the table. The row no longer exists.
- To cancel the deletion and leave the record in the table, click the “X” at the top right corner of the window, or hit “ESC” on your keyboard.
Quality Hold
The Quality Hold tab is where you will input any parts that have been pulled from production for inspection.
Note: All production should be entered as Production, even if it is going into Quality Hold. Make the Production Entry first, then move the parts into Quality Hold. Quality Hold will move the parts out of available Parts on Hand, until you have completed your inspection. The parts will then be moved back into the available quantity on hand.
Table
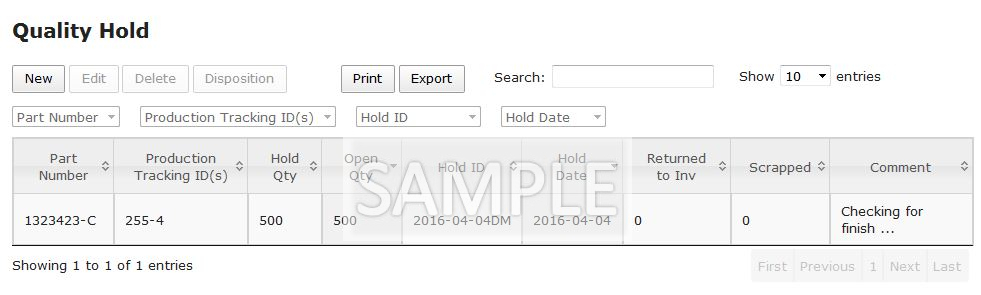
Please see the Tables section on the General tab of this manual to learn how to interact with the tables. In this page, we will deal with the specific data in this table.
A brief review of the columns in the Quality Hold table:
- Part Number: Your internal part number for this item.
- Production Tracking ID: The unique identifier you use for this production.
- Hold Qty: The number of parts you are placing into Quality Hold.
- Open Qty: The number of parts remaining to be inspected.
- Hold ID: An identifier you assign to this Quality Hold.
- Hold Date: The date these items were moved to Quality Hold.
- Returned to Inv: The number of parts returned to Inventory after inspection.
- Scrapped: The number of parts that have been scrapped after inspection.
- Comments: Any comments you have entered regarding this Quality Hold.
Let’s move on to your interaction with the table:
- To create a new Quality Hold:
- Click the “New” button, then follow the Form instructions below.
- To edit an existing Quality Hold record:
- Select the row you wish to edit, then click the “Edit” button. Follow the Form instructions below.
- To Delete an existing Quality Hold:
- Select the row you wish to delete, then click the “Delete” button. Follow the Form instructions below.
- To Disposition a Quality Hold:
- This is where you move parts back to inventory or into scrap after inspection. Follow the Form instructions below.
Now we’ll look at each button action individually:
Add a Quality Hold

This is the Create new entry form to add a New Quality Hold. Instructions for each field follows:
- Part Number: Select your Internal Part Number from the dropdown list.
- Production Tracking ID: Input the unique identifier you use for this production lot.
- Hold Qty: Input the number of parts you are placing into Quality Hold.
- Open Qty: Inpuct the number of parts remaining to be inspected.
- Hold ID: Input the identifier you assign to this Quality Hold.
- Date: Select the date these items were moved to Quality Hold.
- Comments: Enter any comments you have regarding this Quality Hold.
Once you have completed entering the data for this Quality Hold, click “Create” and you’re all done! You will be returned to the table view, and your new line item will be momentarily highlighted in the table.
To cancel the Entry and make no changes, click the “X” at the top right corner of the window, or hit “ESC” on your keyboard.
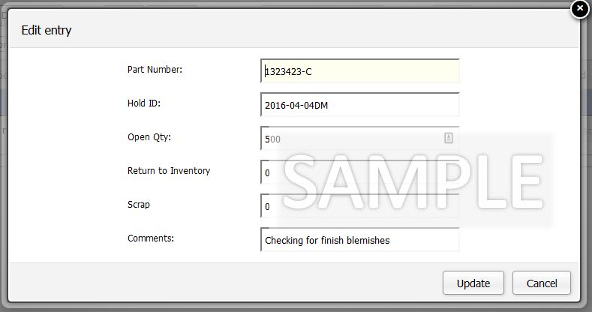
Edit an Existing Quality Hold.
Use the Edit Entry form if you need to change the initial entry. Use the Disposition Form after inspection. For a description of each field, read the Add a New Quality Hold text above.
- To begin an Edit on an Existing Quality Hold, first you must click on the table row you wish to edit. Once a row is highlighted, the Edit button will become active.
- The form will automatically populate with all of the information from the row you selected. Edit the field that you wish to change and click “Update” to complete the edit. You will be returned to the table view, and your edited line item will be momentarily highlighted in the table.
- To cancel the Edit and make no changes, click the “X” at the top right corner of the window, or hit “ESC” on your keyboard.
Delete a Quality Hold
A Quality Hold should only be deleted if it was entered errantly in the first place. Always use the Disposition Form to clear a Quality Hold after inspection, so that your record of the Quality Hold is always viewable.
To Delete a Quality Hold, you must first click on the table row you wish to Delete. Once a row is highlighted, the Delete button will become active.
The Delete dialog will appear to confirm that you wish to delete this row. Click the “Delete” button and you will be returned to the table. The row no longer exists.
- To cancel the deletion and leave the record in the table, click the “X” at the top right corner of the window, or hit “ESC” on your keyboard.
Disposition an Existing Quality Hold.
Once inspection has been completed, use the Disposition Form to move good production back to On Hand and to move problem parts to scrap. Instructions for the form follow:
- To begin a Disposition, first you must click on the table row you wish to Disposition. Once a row is highlighted, the Disposition button will become active.
- The form will automatically populate with the information you need for Disposition. The three fields you use to Disposition the Quality Hold are the Open Qty, Return to Inventory, and Scrap fields. If inspection is completed, enter 0 for the Hold Qty, and then enter the number of parts that were returned to inventory and the parts that were scrapped.
- Once you have completed the disposition, click “Update” to complete. You will be returned to the table view, and your edited line item will be momentarily highlighted in the table.
- To cancel the Edit and make no changes, click the “X” at the top right corner of the window, or hit “ESC” on your keyboard.
Inventory Audit
The Inventory Audit tab is where you adjust your quantity on hand after doing a physical count of inventory.
Performing regular Inventory Audits is vital to keeping the information on your Dashboard Graphs accurate.
Form
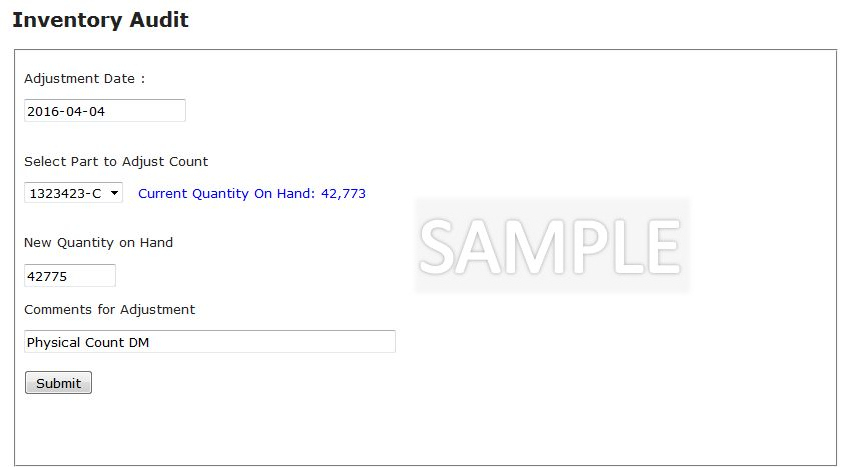
To enter an Inventory Audit, enter the following information into the form:
- Adjustment Date: Click to select the date of the Inventory Audit.
- Select Part to Adjust Count: This is where you select the part you have audited. Once the part is selected, the Current Quantity On Hand is displayed in blue text.
- New Quantity On Hand: Enter the quantity on hand as a result of your Inventory Audit.
- Comments: Enter any comments relevant to the Inventory Audit.
Once you have completed the entry, click the Submit button. A confirmation will appear with the information for your Adjusting Entry.
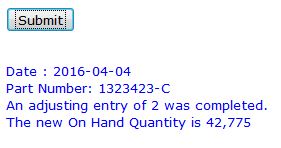
Your Inventory Graph on the Dashboard now reflects your accurate Production on Hand, and the Information Panel at the lower right notes that date you performed the audit. When you look at your Production on Hand, this will give you confidence that the parts are actually available.
