
The Material Allocate tab is where you will assign material to a part for production.
The first phase of Material Allocation is very simple: You input the quantity of parts you expect to be able to produce for the Material on hand. This builds the Material Graph in your Dashboard, so you can quickly assess how much Material is on hand for production.
Note: PiQ uses a total of all Material Allocations, so you will create a new entry each time you assign or remove material from availability.
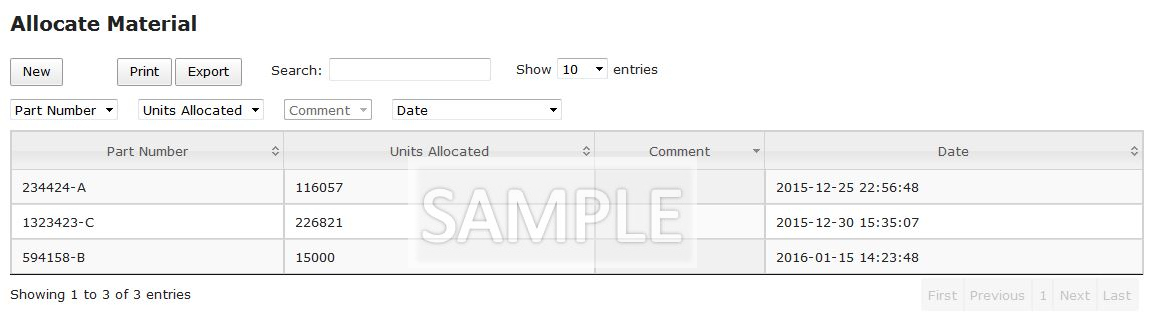
Table
Please see the Interacting with Tables section of this manual to learn how tables work. In this page, we will deal with the specific data in this table.
A brief review of the columns in the Material Allocation table:
- Part Number: Your internal part number to which Material will be Allocated.
- Units Allocated: The number of parts you expect to produce given the amount of Material Allocated.
- Comment: Any comments you have entered regarding this Allocation.
- Date: The date and time the Allocation was entered into the system.
To create a new Allocation Entry, click the “New” button.

This is the Create new entry form to add a New Material Allocation. A description for each field follows:
- Part Number: Select your Internal Part Number from the dropdown list.
- Allocation: Enter the number of parts that can be produced by this Material Allocation.
- You may enter a positive or negative number. Negative numbers may be used to move material from one part to another. Simply subtract the number of parts to be produced from one part, and create another entry for the part material has been allocated to.
- Comment: Any comments you wish to add to this Material Allocation may be entered here.
Once you have completed entering the data for this Allocation, click “Create” and you’re all done! You will be returned to the table view, and your new line item will be momentarily highlighted in the table.
To cancel the Entry and make no changes, click the “X” at the top right corner of the window, or hit “ESC” on your keyboard.
Remember, the Dashboard Material Graph uses a total of all Allocations, so there is no need to Edit or Delete an Allocation. Simply add another record with a positive number each time you add material, and another entry with a negative number each time you remove material from availability for this part.
